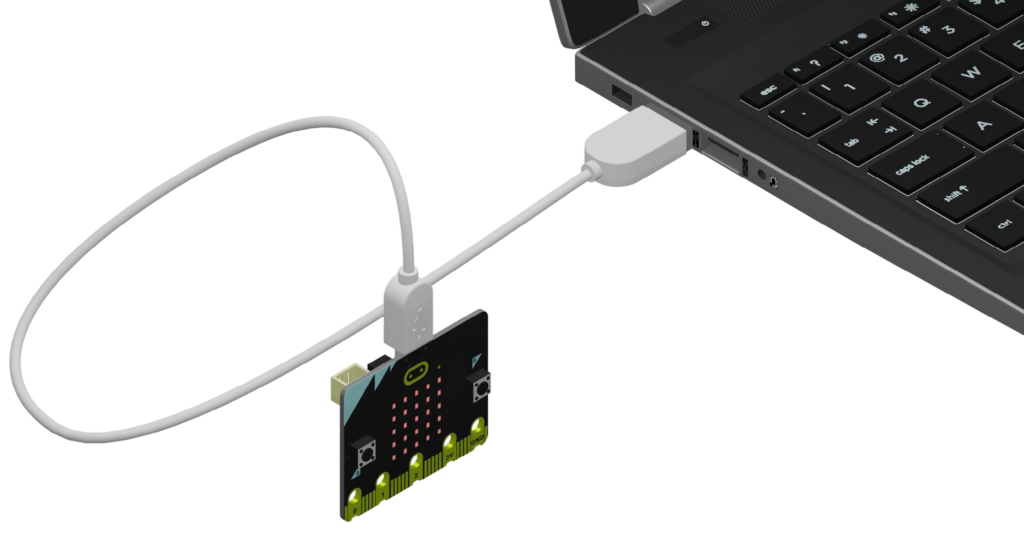
Step 1: Connect your micro:bit to the computer
Plug the smaller end of a microUSB cable into the USB port on your micro:bit.
Plug the larger, standard USB end into a USB port on your computer.
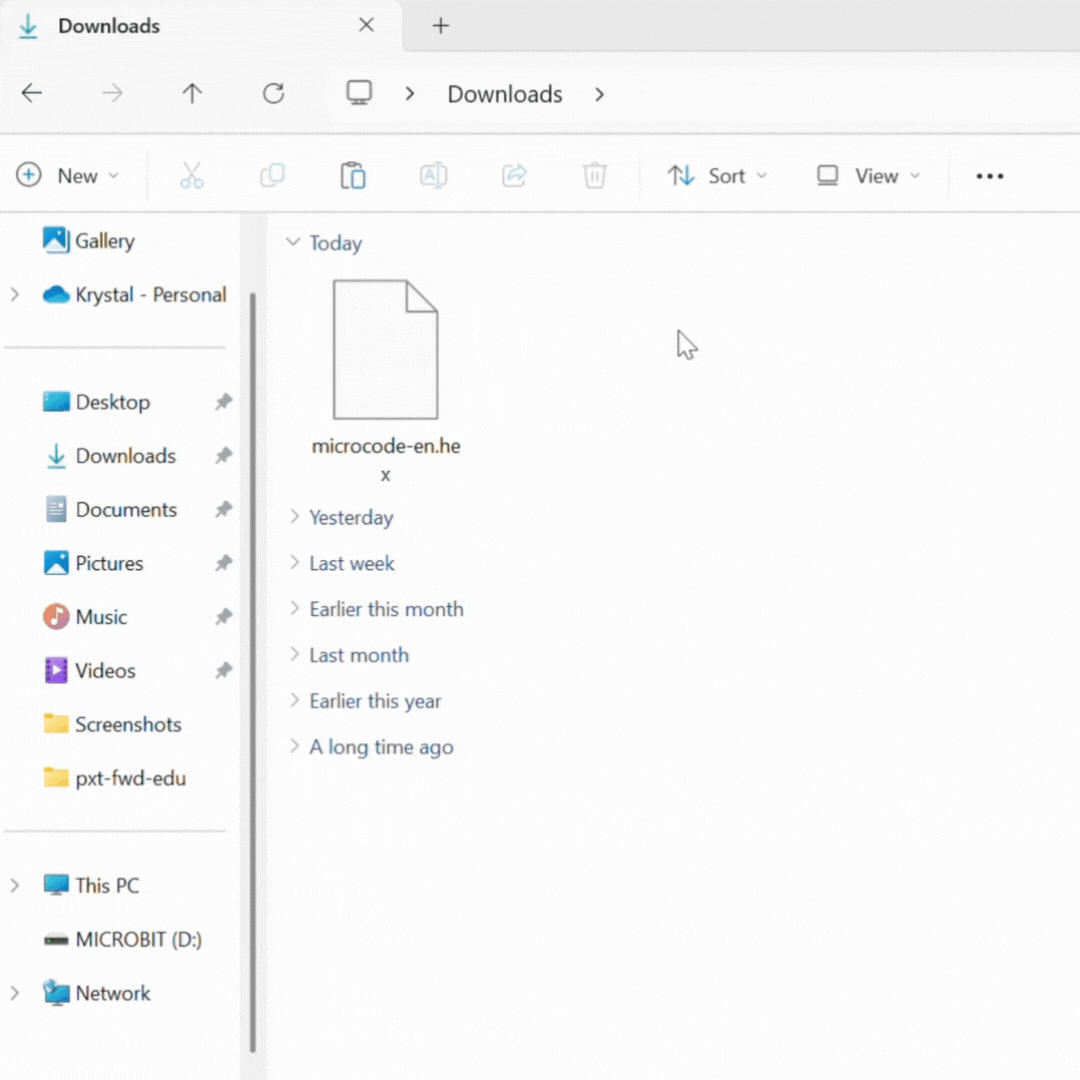
Step 2: Transfer the MicroCode .hex file to your micro:bit
Download the MicroCode .hex file to your computer.
Then, open your computer’s file explorer (Windows) or Finder (Mac) to locate the .hex file in your “Downloads” folder.
Drag and drop the .hex file onto the “MICROBIT” drive. Wait for the file transfer to complete.
Step 3: Eject your micro:bit
Safely eject your micro:bit from your computer to avoid damaging it:
- On Windows: Right-click on the “MICROBIT” drive icon in File Explorer and select “Eject”.
- On macOS: Drag the “MICROBIT” drive icon from your desktop to the Trash (which will change to an “Eject” icon).
Disconnect the microUSB cable from your computer and micro:bit.
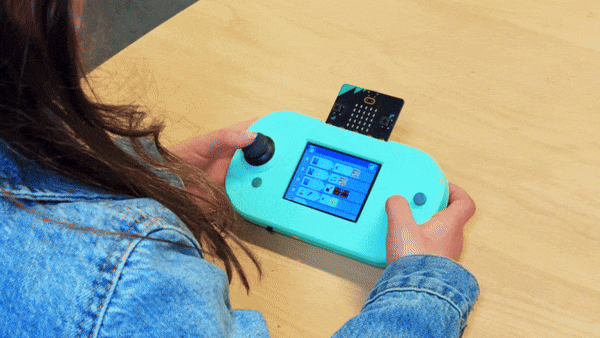
Step 4: Connect micro:bit to CodeCTRL
Gently slide the pins of your micro:bit into the edge connector at the top of the CodeCTRL. Be sure the the buttons on the micro:bit are facing forward! You should feel a slight click or resistance when it’s properly connected.
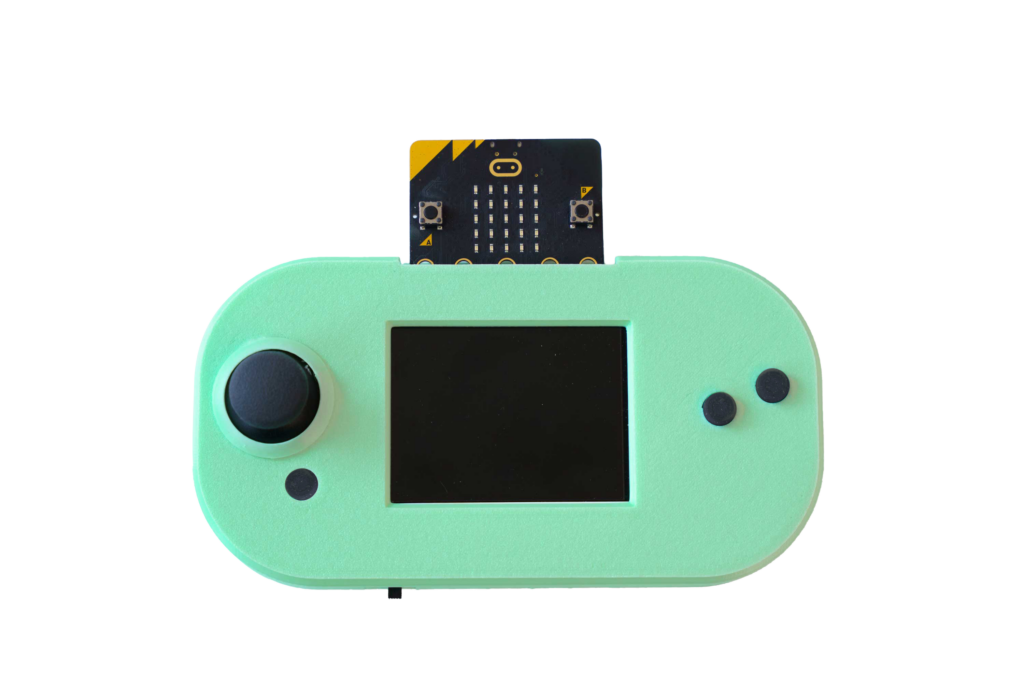
Step 5: Power up and code!
Locate the power switch on the bottom left of your CodeCTRL. Toggle it on and MicroCode should automatically load!